How To: Quick-Change Discs
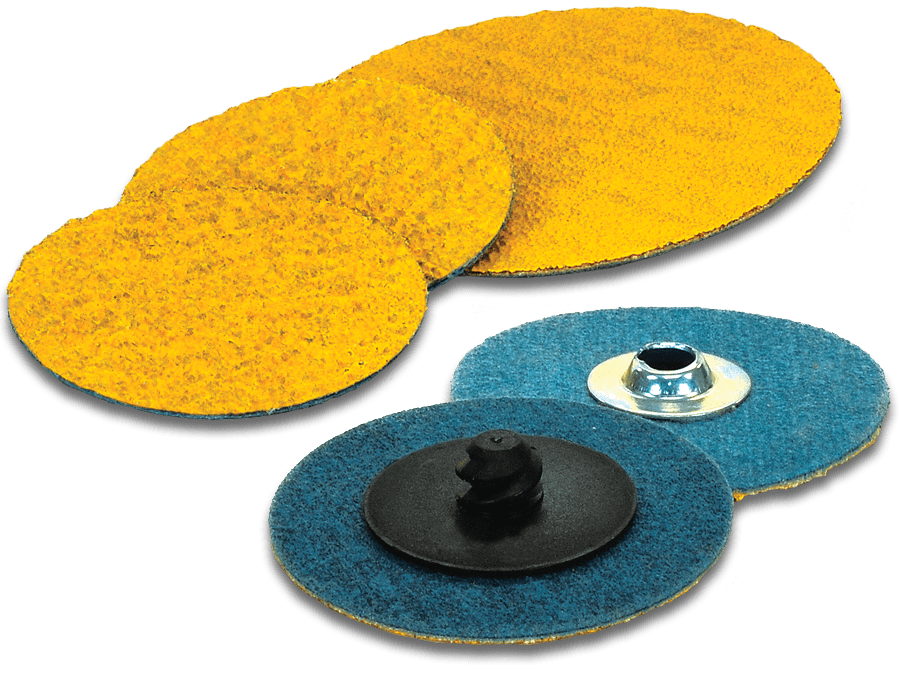
Quick Change Discs are small discs with a button on the reverse side. The button allows the disc to be changed quickly with one twist, and without the use of special tools. They are used for grinding, stock removal, and deburring. Their size makes it ideal for small and restricted areas.
Whether you are a veteran in the metal working industry or just getting started, it is important to know how to properly use quick change discs to maximize your productivity and further impact your bottom line.
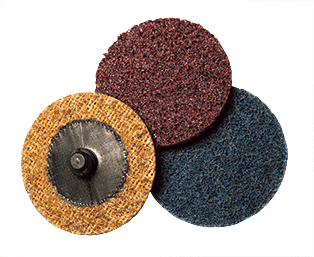
It’s important to match the right abrasive grains, to the right application, at the right time of the metal working process. Knowing which form of quick change discs you will use before your application is beneficial. Regarding grit sizes, the smaller number would be beneficial for any stock removal and heavy cutting. For a finer finish, it is best to utilize a higher grit, or use surface conditioning material.

PREDATOR™ Quick Change Discs
PREDATOR quick change discs outlast the competition by adding additional self-sharpening grains to the top layer of the disc. The dual grinding aid layers increase life by providing a cooler working surface. It offers an aggressive cutting action that’s ideal for mild steel applications.

Z-WEB™ Quick Change Discs
Z-WEB quick change discs are engineered with polyurethane resin to prevent smearing and provide a smoother operation. This product is considered waterproof material that allows for both wet and dry applications. Z-WEB is ideal for aggressive finishing on stainless steel applications.

Premium Ceramic Quick Change Discs
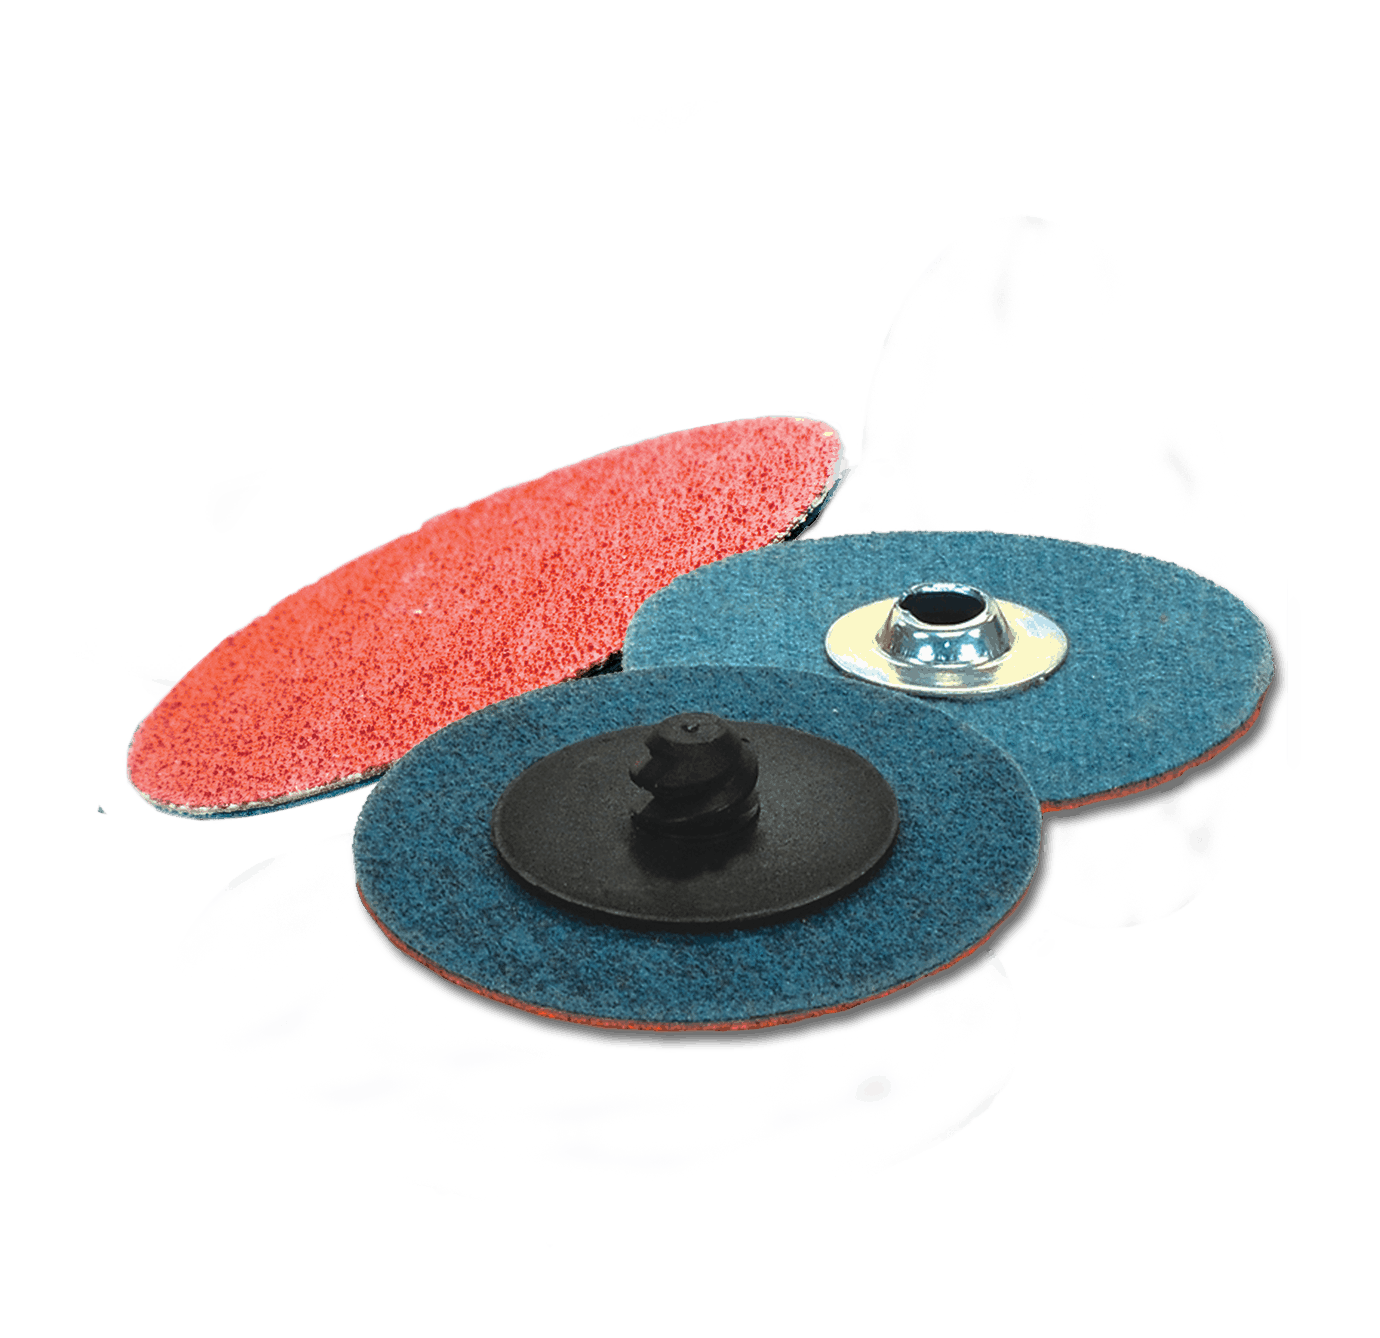
Premium Ceramic quick change discs minimize downtime and maximize productivity by combining hyper-sharpened nano-grains for a higher metal removal rate. The product offers a lower grinding temperature and less friction, making it ideal for stainless steel and exotic alloys.
Proper Usage
Quick change discs come in various styles which show the importance of picking the correct backing before starting the application. The common styles are r-locks, s-locks, and p-locks. The r-lock button is more preferred in the industry.
The first step before working on any application is to put on the proper protective equipment. You will need safety googles, gloves, and an apron to prevent any injury. Once prepared, the next part of the process is to get your die grinder ready to use. You must always make sure that the RPM of the tool does not exceed the speed of the holder, or serious injuries could happen. Twist the quick-change disc onto the holder and connect the holder to the tool and twist until tight.
The final part of the process would be to secure your workpiece for a smoother application. If you follow the proper guidelines and steps, you can safely use quick change discs.
Check out our social media pages on Linkedin and Facebook to keep up with our weekly updates!


